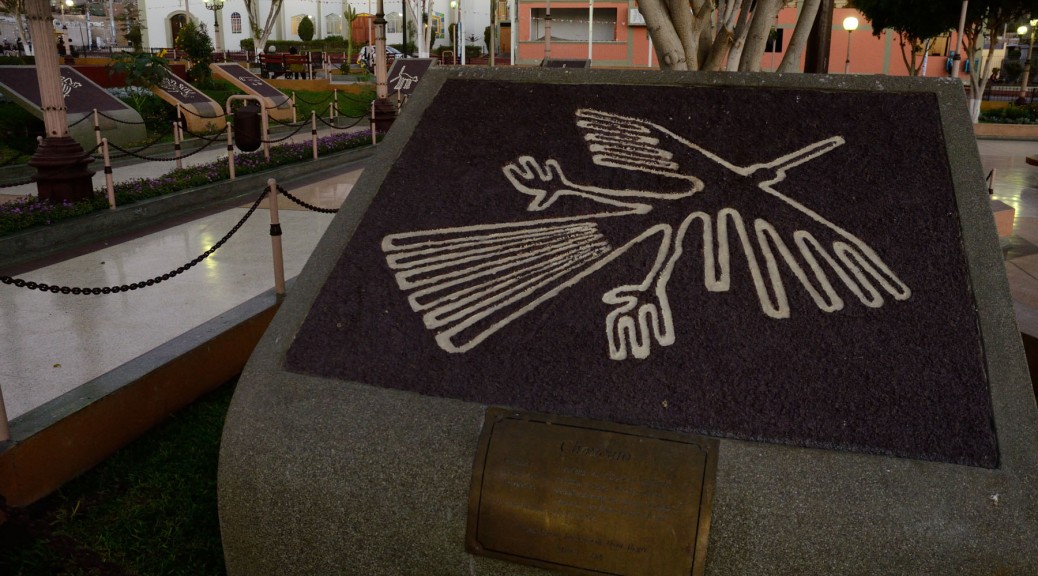
One of the highlights of a trip to Peru is a flight over the Nazca Lines: Take a double dose of motion sickness pills, jump on a tiny airplane and enjoy the view… or camera in hand shoot as much as possible during the 40 minutes flight.
Nope, no chance of taking down the airplane’s door so I could avoid shooting through glass…the pilot told me: there are other people on the plane, you know? …Maybe if I charter the flight? However, I had done aerials on assignment before and I knew that as long as I got my camera close to the window to avoid reflections and did not let it touch the vibrating glass I should get sharp enough pictures after some post processing.
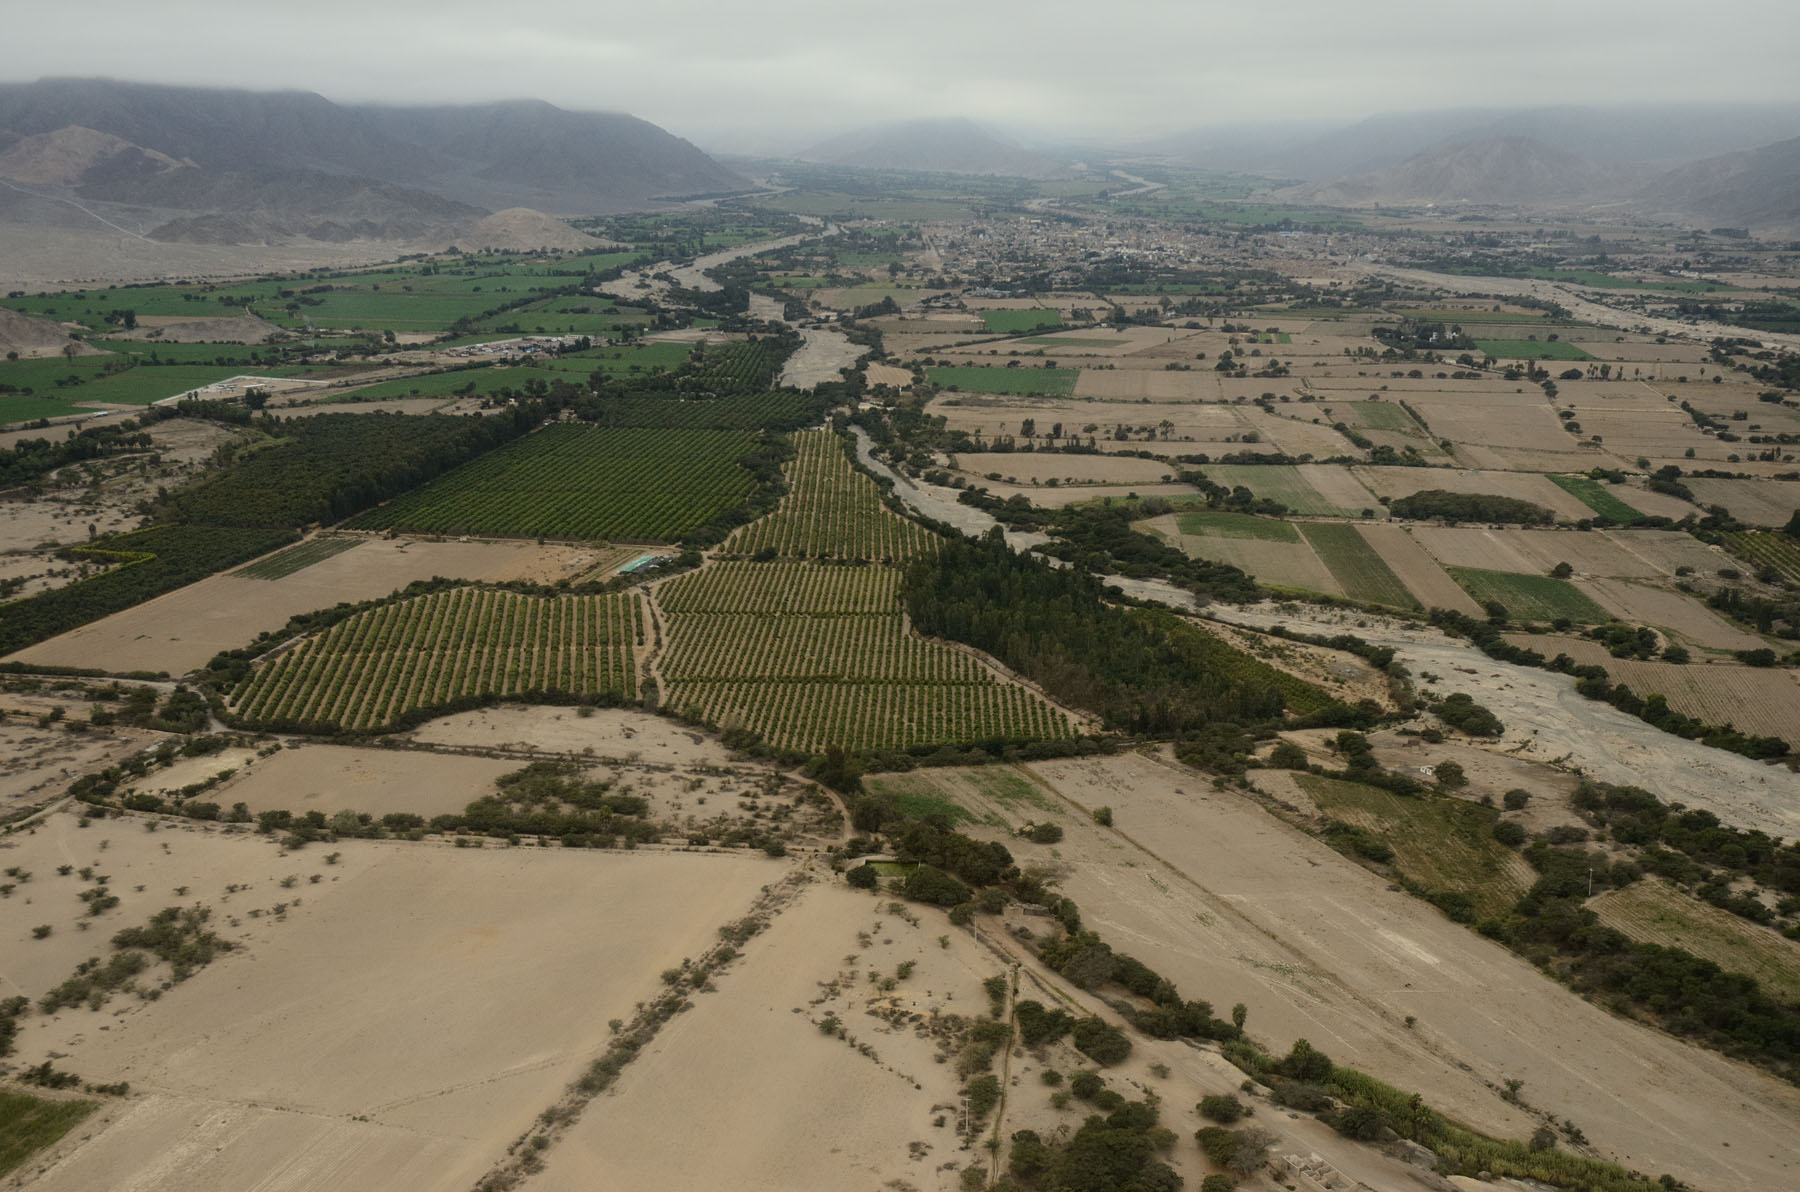
The photos as they came out from my camera had of course a strong greenish-blue cast due both to the color of the window and to the disappointingly cloudy day I got. I didn’t try to white balance my camera before shooting because I knew this could change during the flight. Luckily it didn’t and I was able to use the auto white balance of a view of the Nazca River Valley to color-correct the aerials with no horizon.
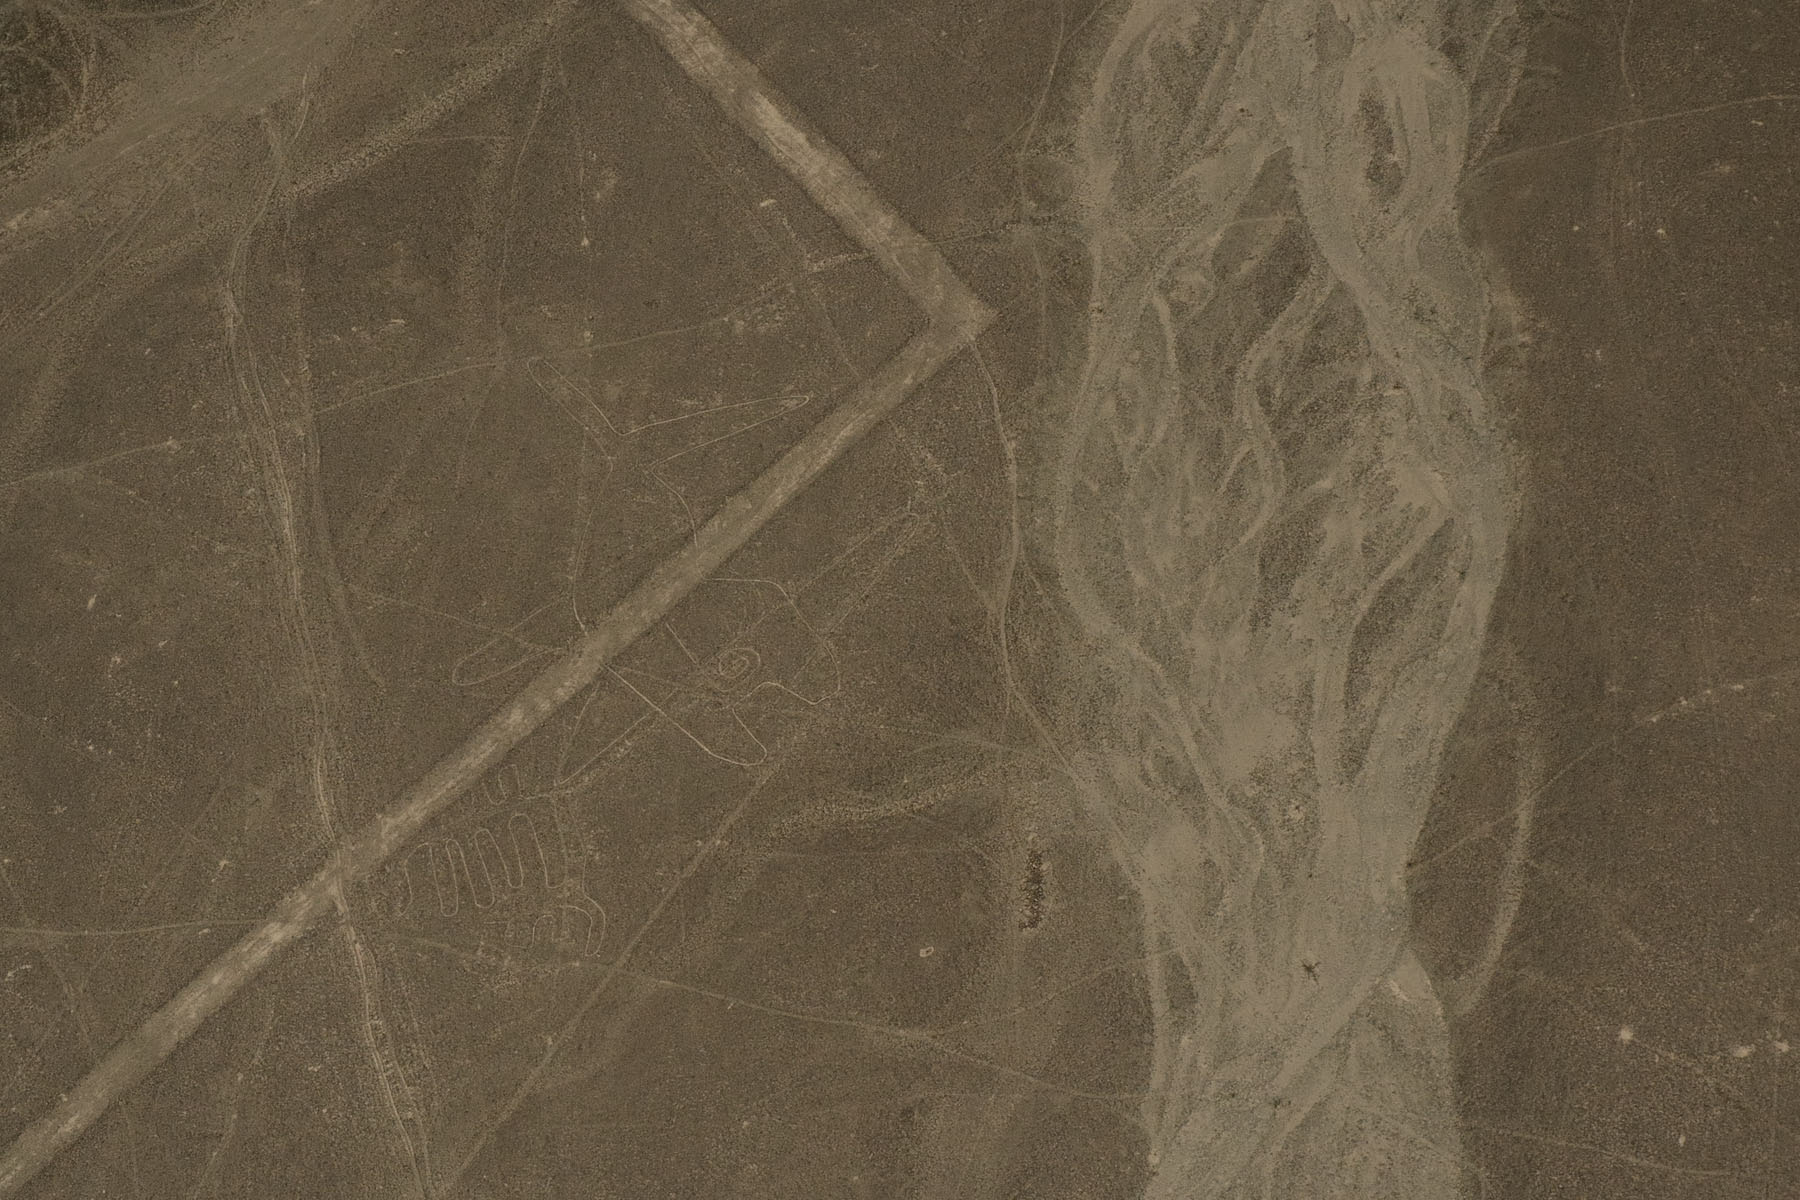
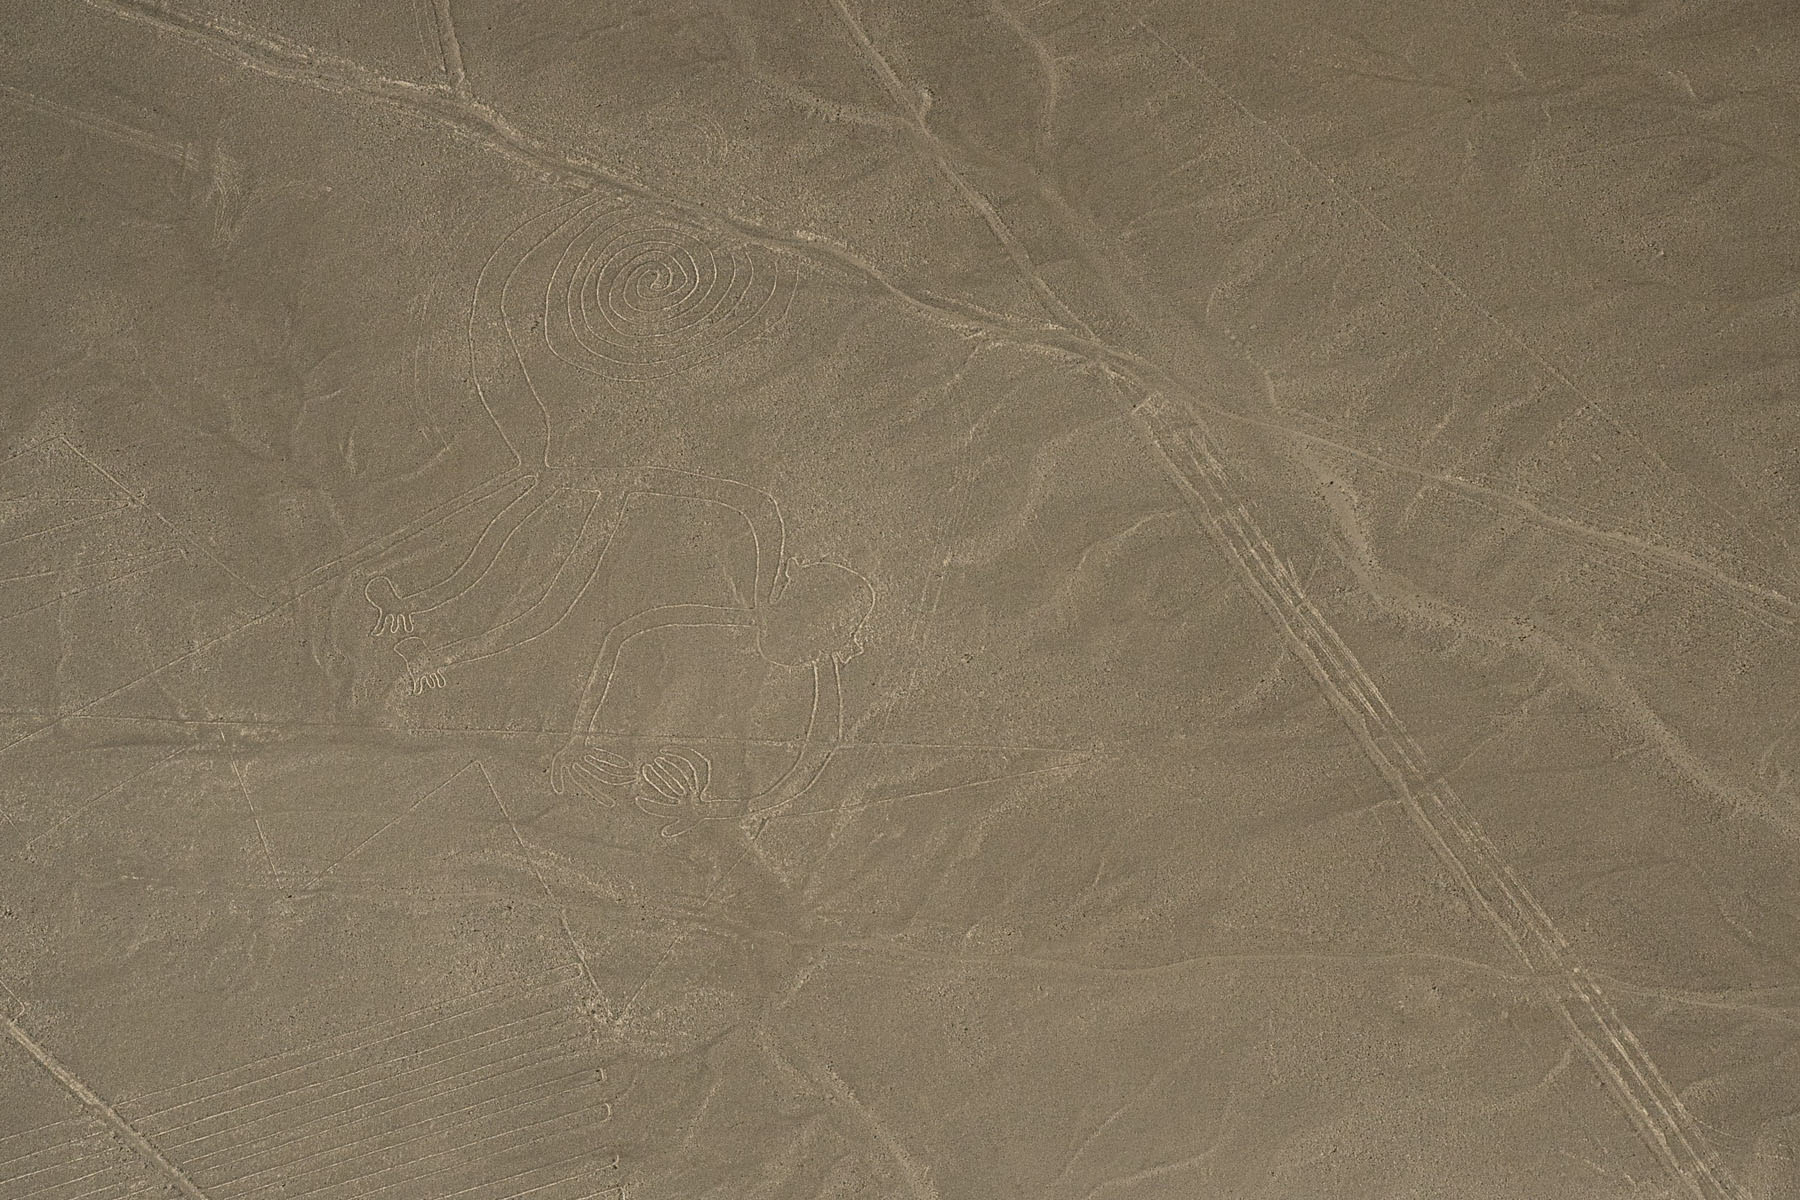
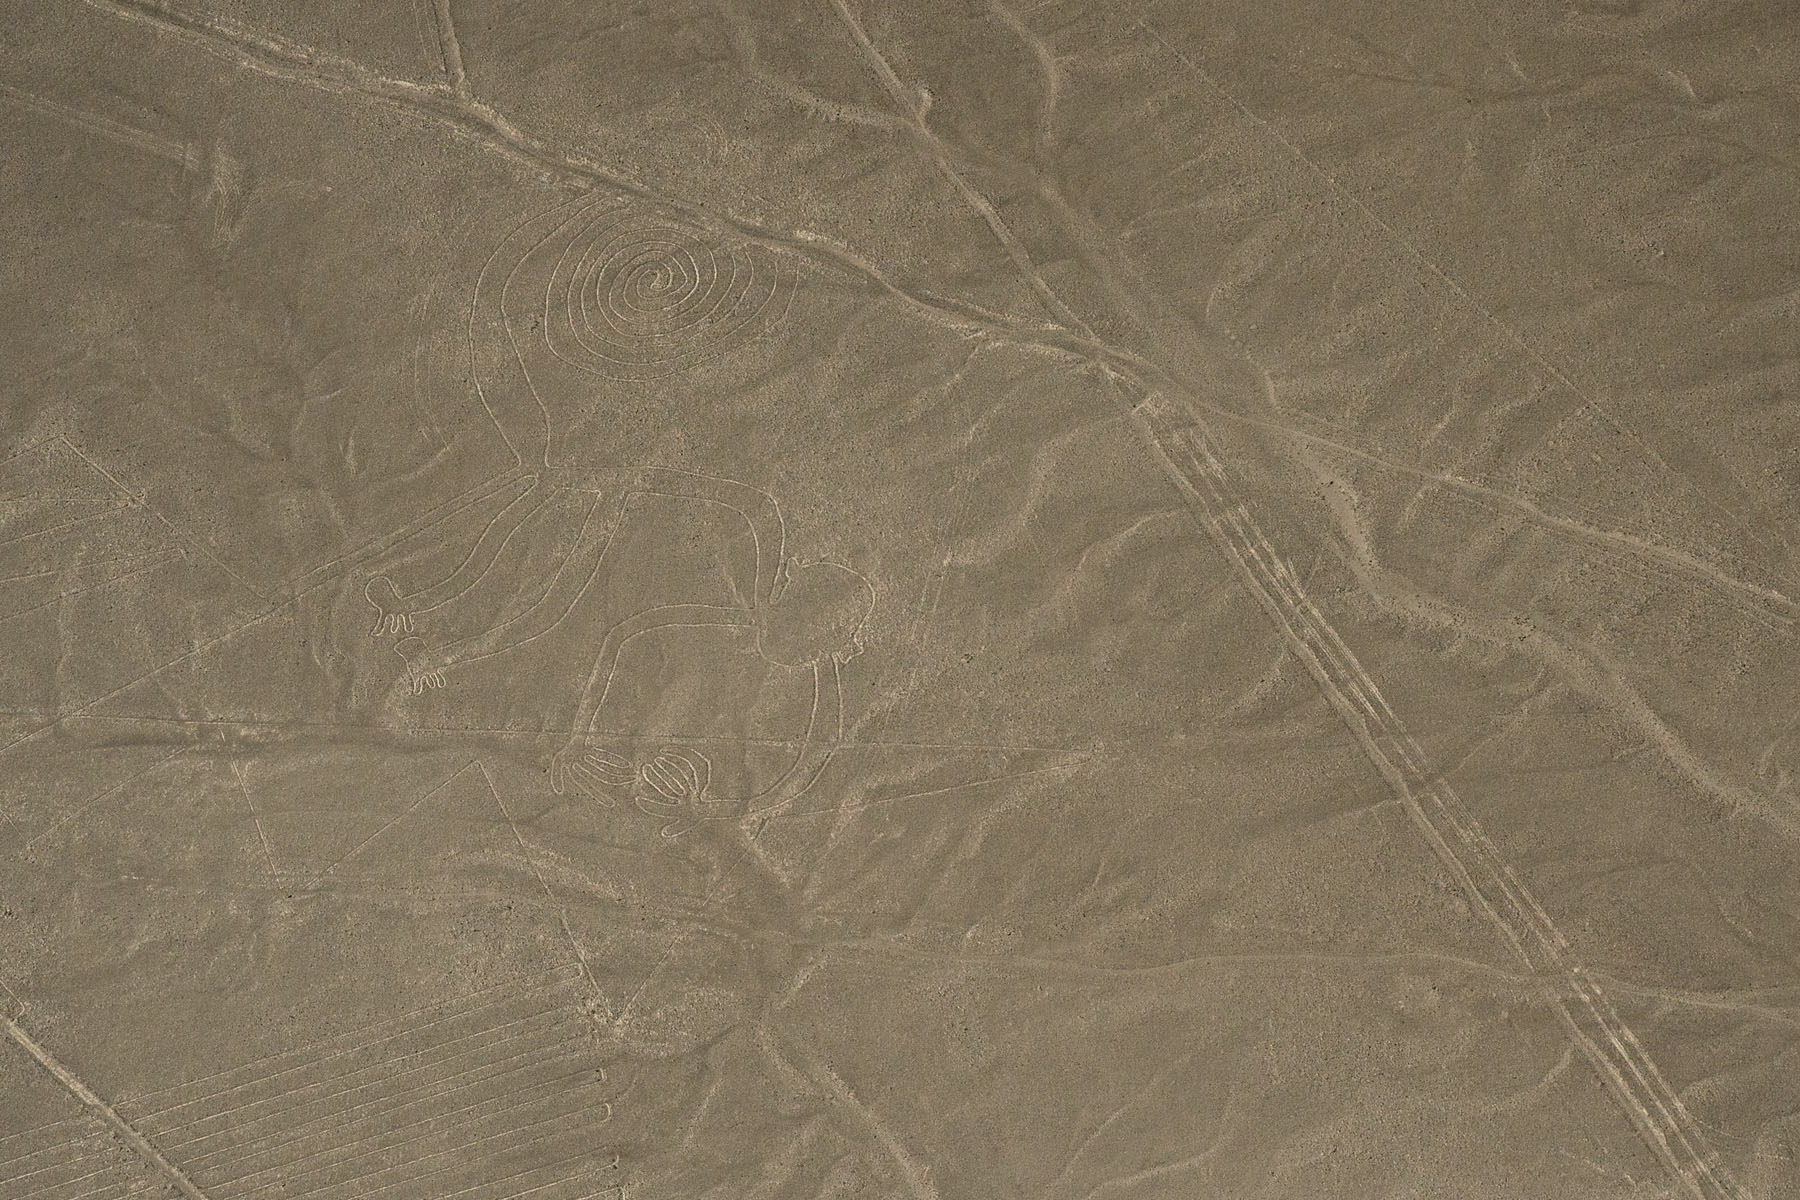
Some of the figures like the whale came out nicely detailed, but the photo of the monkey really did not stand out. A contrast enhancement looked really ugly, and regular sharpening didn’t help. Then I remembered that regular sharpening only enhances edges but High Pass sharpening can either enhance edges or features if the radius of the filter is high enough. I used it in Nikon’s Capture NX-2 but I know it is available in many other programs. You just have to play around with the settings. Thanks to this, I can show you clear enough photos of the Nazca lines and figures.


You might wonder if the motion sickness pills worked… yes, they did, but only for the first ten Nazca Figures : (
Do you know of any other techniques that can help in a situation like this? I would love to hear!

Hi,
I enjoyed seeing these photos. Thank you so much for following my blog. I’m sorry I couldn’t get over to thank you sooner.
Janice
LikeLiked by 1 person
Stunning!
LikeLiked by 1 person
Thanks! One less of my bucket list.
LikeLike
You did an amazing job pulling out the figures, Eduardo. Not an easy task, but much appreciated. I have always thought these ancient drawings are fascinating. 🙂
LikeLiked by 1 person
Thanks Jet! I’m happy you liked the result! The lines are easier to see when you are in movement.
LikeLiked by 1 person